
Table of Contents
Intro
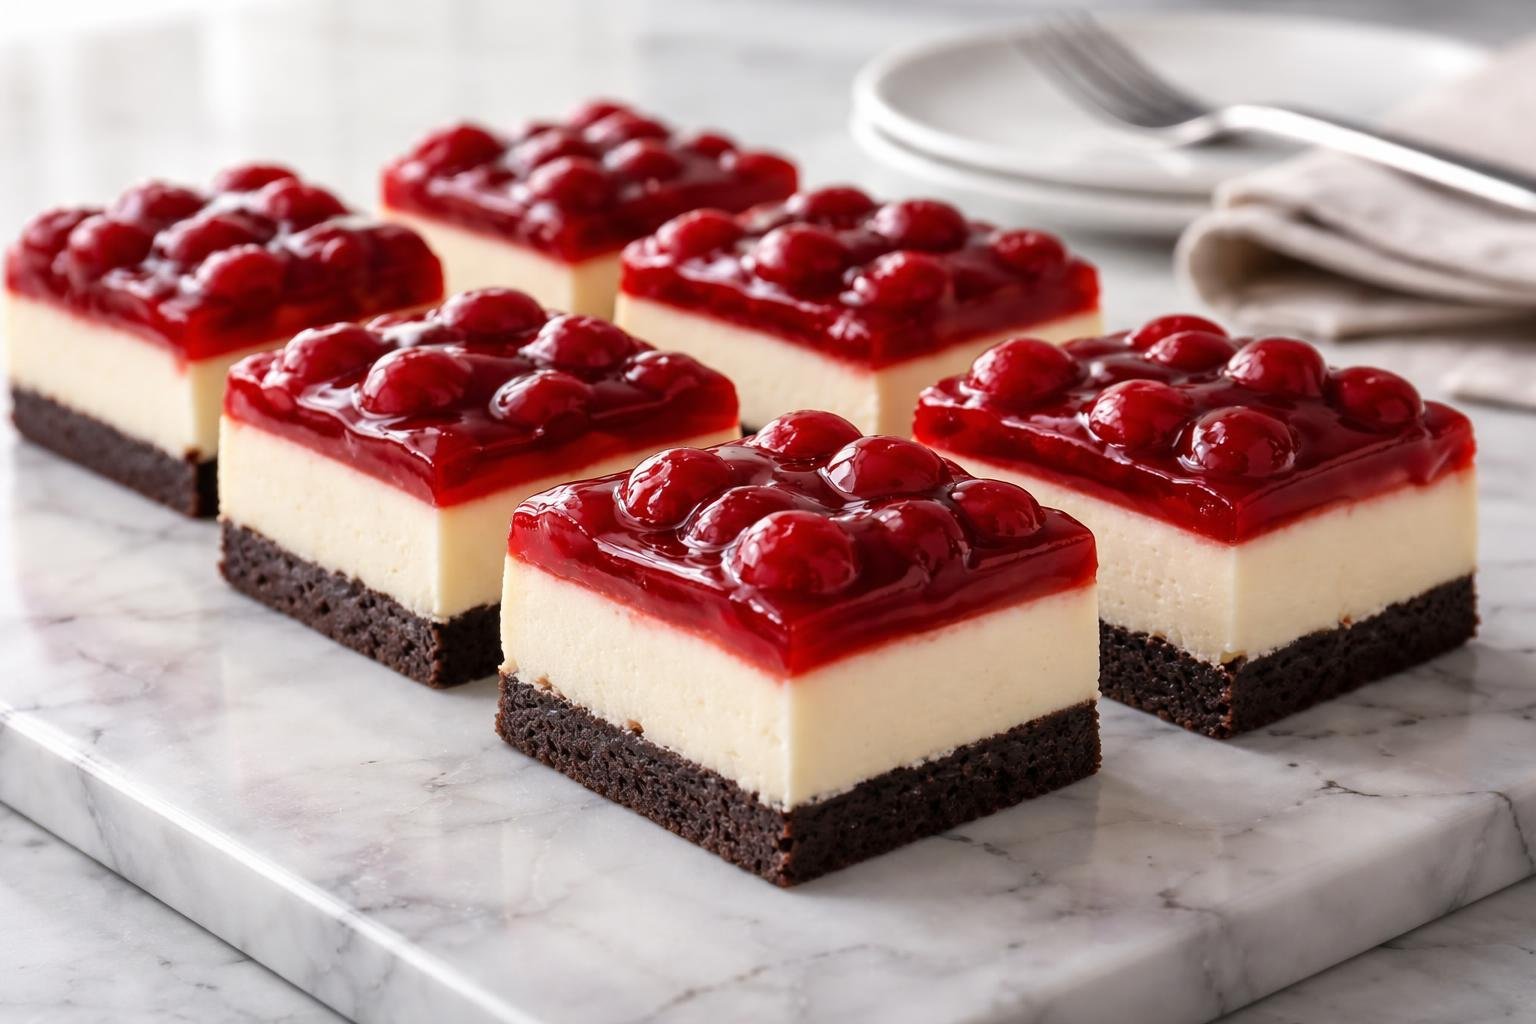
There are desserts that simply taste good… and then there are desserts that feel like a full experience from the very first bite. This Black Forest Cheesecake Delight Bars Recipe belongs firmly in that second category. It is rich, creamy, chocolatey, slightly tangy, and beautifully layered with glossy cherries that make every slice feel like a little celebration.
I still remember the first time I made these bars on a quiet evening in my kitchen. I wasn’t planning anything fancy—just something sweet to satisfy a chocolate craving.
I had cream cheese softening on the counter, a half-used jar of cherries in the fridge, and chocolate cookie crumbs left from another dessert experiment. What came out of the oven that day honestly surprised me. The kitchen smelled like a bakery, and the layers looked so elegant I almost didn’t want to cut into them.
This Black Forest Cheesecake Delight Bars Recipe is my simplified, home-friendly twist on the classic Black Forest cake. Instead of a tall layered cake, we’re creating easy bars with all the same flavors—chocolate, cream cheese, and cherries—but in a much more approachable, sliceable form. It’s the kind of dessert you can serve at a party, pack for guests, or quietly enjoy with a fork straight from the fridge.
What is Black Forest Cheesecake Delight Bars Recipe?
The Black Forest Cheesecake Delight Bars Recipe is a layered dessert inspired by the traditional German Black Forest cake (Schwarzwälder Kirschtorte). The classic version combines chocolate sponge, whipped cream, and cherries. This modern version transforms those same flavors into creamy baked cheesecake bars with a chocolate cookie crust and a glossy cherry topping.
In this version, instead of sponge cake, we use a rich chocolate biscuit base. Instead of whipped cream layers, we use a smooth baked cheesecake filling. And instead of delicate cake assembly, everything is built in one pan, chilled, and sliced into perfect bars.
What makes this dessert so special is the contrast of textures. You get a slightly crunchy chocolate base, a soft and creamy cheesecake center, and a bright, slightly tart cherry topping that cuts through the richness perfectly.
It’s simple, but it feels luxurious.
Equipment List
You don’t need anything complicated for this recipe, which is part of why I love it so much.
- 9×9 inch baking pan (or similar square pan)
- Parchment paper
- Mixing bowls (2–3 sizes)
- Electric hand mixer or whisk
- Rubber spatula
- Small saucepan (for cherry topping)
- Measuring cups and spoons
- Knife for slicing clean bars
Recipe Card Info
- Prep Time: 25 minutes
- Cook Time: 40 minutes
- Chill Time: 2 hours
- Total Time: 3 hours 5 minutes
- Serves: 12 bars
- Cuisine: American
- Course: Dessert
- Calories: 380 kcal per bar
Ingredients
Chocolate Crust
- 1 ½ cups chocolate cookie crumbs
- 5 tablespoons melted butter
- 2 tablespoons sugar
Cheesecake Filling
- 400g cream cheese (softened)
- ¾ cup granulated sugar
- 2 large eggs
- 1 teaspoon vanilla extract
- ½ cup sour cream
Cherry Topping
- 1 ½ cups cherries (fresh or canned, pitted)
- ¼ cup sugar
- 1 tablespoon cornstarch
- 2 tablespoons water
- 1 teaspoon lemon juice
Instructions
Step 1: Prepare the Pan and Crust
Preheat oven to 180°C (350°F). Line your baking pan with parchment paper, leaving slight overhang for easy removal.
In a bowl, combine chocolate cookie crumbs, melted butter, and sugar. Mix until the texture resembles wet sand. Press firmly into the bottom of the pan using the back of a spoon or glass to create an even, compact layer.
Bake for 10 minutes. This helps set the crust so it stays crisp under the creamy layer. Let it cool slightly.
Step 2: Make the Cheesecake Filling
In a large bowl, beat softened cream cheese until smooth and fluffy. This step is important—lumps will affect texture later.
Add sugar and mix until fully combined. Add eggs one at a time, mixing gently to avoid incorporating too much air. Stir in vanilla extract and sour cream until the mixture is silky and smooth.
The filling should feel thick but pourable, with no visible lumps.
Step 3: Bake the Cheesecake Layer
Pour the cheesecake mixture over the cooled crust. Spread evenly using a spatula.
Bake for 25–30 minutes, or until the center is just set but still slightly wobbly. Do not overbake—this keeps the texture creamy instead of dry.
Once baked, let it cool completely at room temperature before chilling.
Step 4: Prepare the Cherry Topping
In a small saucepan, combine cherries, sugar, and lemon juice. Cook over medium heat until the cherries soften and release their juices.
Mix cornstarch with water in a separate bowl to create a slurry. Add it to the cherry mixture and stir continuously until the sauce thickens and becomes glossy.
Remove from heat and allow it to cool completely.
Step 5: Assemble the Bars
Once the cheesecake layer is fully cooled, spread the cherry topping evenly over the surface.
Refrigerate for at least 2 hours, preferably longer, so the layers set properly and slicing becomes clean.
Step 6: Slice and Serve
Lift the chilled dessert out using parchment paper. Slice into neat squares using a sharp knife, wiping the blade between cuts for clean edges.
Serve cold for the best texture experience.
Flavor and Texture Breakdown
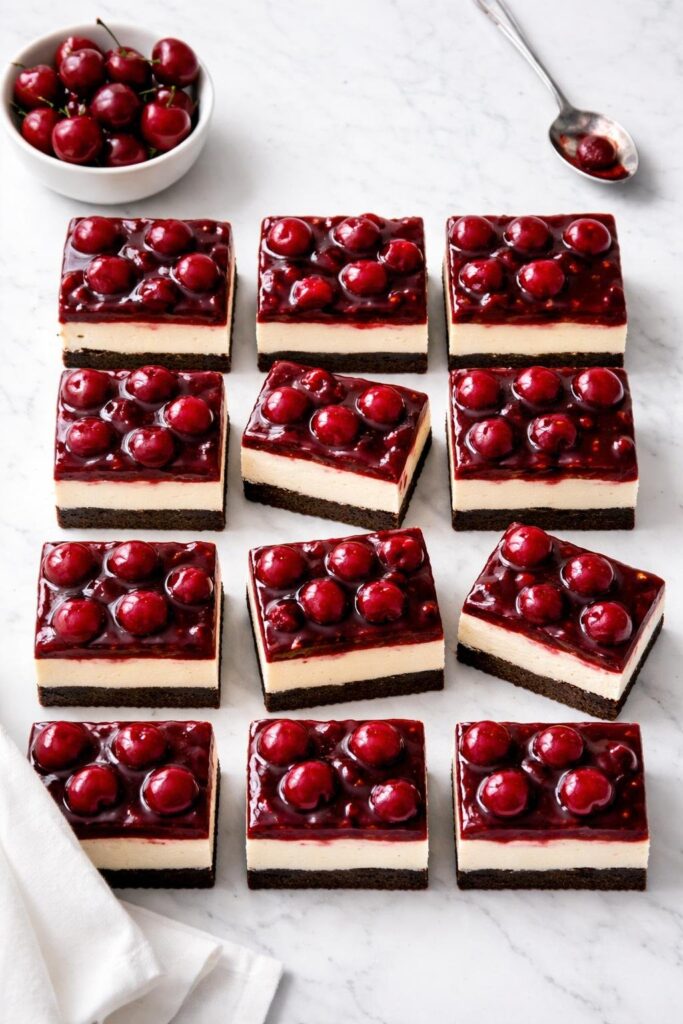
This Black Forest Cheesecake Delight Bars Recipe is all about contrast.
- The crust is slightly crunchy with deep chocolate flavor
- The cheesecake layer is smooth, creamy, and lightly tangy
- The cherry topping is sweet, slightly tart, and glossy
Together, they create a balanced dessert that never feels overly heavy despite its richness.
Why This Recipe Works So Well
This dessert works because every layer has a purpose. The chocolate crust anchors the structure. The cheesecake provides richness and creaminess. The cherries cut through with brightness and acidity.
It’s also a forgiving recipe. Even if your layers aren’t perfectly even, the final result still tastes incredible.
Ingredient Deep Dive
Cream Cheese
Always use full-fat cream cheese for the best texture. Low-fat versions can make the filling watery.
Cherries
Fresh cherries give a brighter flavor, but canned cherries work beautifully and are more convenient.
Chocolate Crust
Chocolate cookie crumbs give a deeper, slightly bitter base that balances the sweet filling.
Pro Tips from My Kitchen
- Always soften cream cheese before mixing
- Do not overmix after adding eggs
- Chill thoroughly for clean slicing
- Use a hot knife for perfect edges
Common Mistakes to Avoid
- Overbaking the cheesecake layer
- Skipping chilling time
- Using warm cherry topping on cheesecake
- Not pressing crust firmly enough
Variations You Can Try
- Add melted chocolate drizzle on top
- Mix chocolate chips into cheesecake layer
- Use raspberries instead of cherries
- Add whipped cream before serving for extra indulgence
Serving Suggestions
This dessert pairs beautifully with:
- Whipped cream
- Hot coffee or espresso
- Vanilla ice cream
- Fresh berries on the side
Storage and Make-Ahead Tips
Store in an airtight container in the refrigerator for up to 4 days.
You can also make this dessert a day ahead—actually, it tastes even better after resting overnight as the flavors deepen.
Freezing Instructions
Freeze without cherry topping for best results. Wrap tightly and store for up to 2 months. Thaw in the refrigerator overnight before serving.
Troubleshooting Guide
Why is my cheesecake cracking?
Overbaking or overmixing can cause cracks. Slight wobble in the center is perfect.
Why is my crust crumbly?
It may not have enough butter or wasn’t pressed firmly.
Why is my topping runny?
The cornstarch may not have fully activated—cook until thick and glossy.
Make-Ahead Tips
Prepare crust and cheesecake layer a day before, then add cherry topping the next day for freshest results.
Why You’ll Love This Recipe
This Black Forest Cheesecake Delight Bars Recipe is elegant yet simple, rich yet balanced, and impressive without being complicated. It’s the kind of dessert that makes people pause after the first bite.
Final Thoughts
This dessert is one of those recipes I always come back to when I want something that feels special without stress. It’s comforting, beautiful, and deeply satisfying.
If you’re someone who loves chocolate and cherries together, this Black Forest Cheesecake Delight Bars Recipe will quickly become a favorite in your kitchen too. Take your time, enjoy each step, and don’t rush the chilling—because that’s where the magic truly sets.
Black Forest Cheesecake Delight Bars Recipe
Equipment
- 9×9 inch baking pan (or similar square pan)
- Parchment paper
- Mixing bowls (2–3 sizes)
- Electric hand mixer or whisk
- Rubber spatula
- Small saucepan (for cherry topping)
- Measuring Cups and Spoons
- Knife for slicing clean bars
Ingredients
Chocolate Crust
- 1 ½ cups chocolate cookie crumbs
- 5 tablespoons melted butter
- 2 tablespoons sugar
Cheesecake Filling
- 400 g cream cheese softened
- ¾ cup granulated sugar
- 2 large eggs
- 1 teaspoon vanilla extract
- ½ cup sour cream
Cherry Topping
- 1 ½ cups cherries fresh or canned, pitted
- ¼ cup sugar
- 1 tablespoon cornstarch
- 2 tablespoons water
- 1 teaspoon lemon juice
Instructions
Step 1: Prepare the Pan and Crust
- Preheat oven to 180°C (350°F). Line your baking pan with parchment paper, leaving slight overhang for easy removal.
- In a bowl, combine chocolate cookie crumbs, melted butter, and sugar. Mix until the texture resembles wet sand. Press firmly into the bottom of the pan using the back of a spoon or glass to create an even, compact layer.
- Bake for 10 minutes. This helps set the crust so it stays crisp under the creamy layer. Let it cool slightly.
Step 2: Make the Cheesecake Filling
- In a large bowl, beat softened cream cheese until smooth and fluffy. This step is important—lumps will affect texture later.
- Add sugar and mix until fully combined. Add eggs one at a time, mixing gently to avoid incorporating too much air. Stir in vanilla extract and sour cream until the mixture is silky and smooth.
- The filling should feel thick but pourable, with no visible lumps.
Step 3: Bake the Cheesecake Layer
- Pour the cheesecake mixture over the cooled crust. Spread evenly using a spatula.
- Bake for 25–30 minutes, or until the center is just set but still slightly wobbly. Do not overbake—this keeps the texture creamy instead of dry.
- Once baked, let it cool completely at room temperature before chilling.
Step 4: Prepare the Cherry Topping
- In a small saucepan, combine cherries, sugar, and lemon juice. Cook over medium heat until the cherries soften and release their juices.
- Mix cornstarch with water in a separate bowl to create a slurry. Add it to the cherry mixture and stir continuously until the sauce thickens and becomes glossy.
- Remove from heat and allow it to cool completely.
Step 5: Assemble the Bars
- Once the cheesecake layer is fully cooled, spread the cherry topping evenly over the surface.
- Refrigerate for at least 2 hours, preferably longer, so the layers set properly and slicing becomes clean.
Step 6: Slice and Serve
- Lift the chilled dessert out using parchment paper. Slice into neat squares using a sharp knife, wiping the blade between cuts for clean edges.
- Serve cold for the best texture experience.
Notes
- Always soften cream cheese before mixing
- Do not overmix after adding eggs
- Chill thoroughly for clean slicing
- Use a hot knife for perfect edges

Norma Parker is a recipe creator at Nomqom.com. She shares simple, tasty, and easy home-cooking ideas for everyday meals. Her goal is to help home cooks make delicious food with confidence.