
Table of Contents
Intro
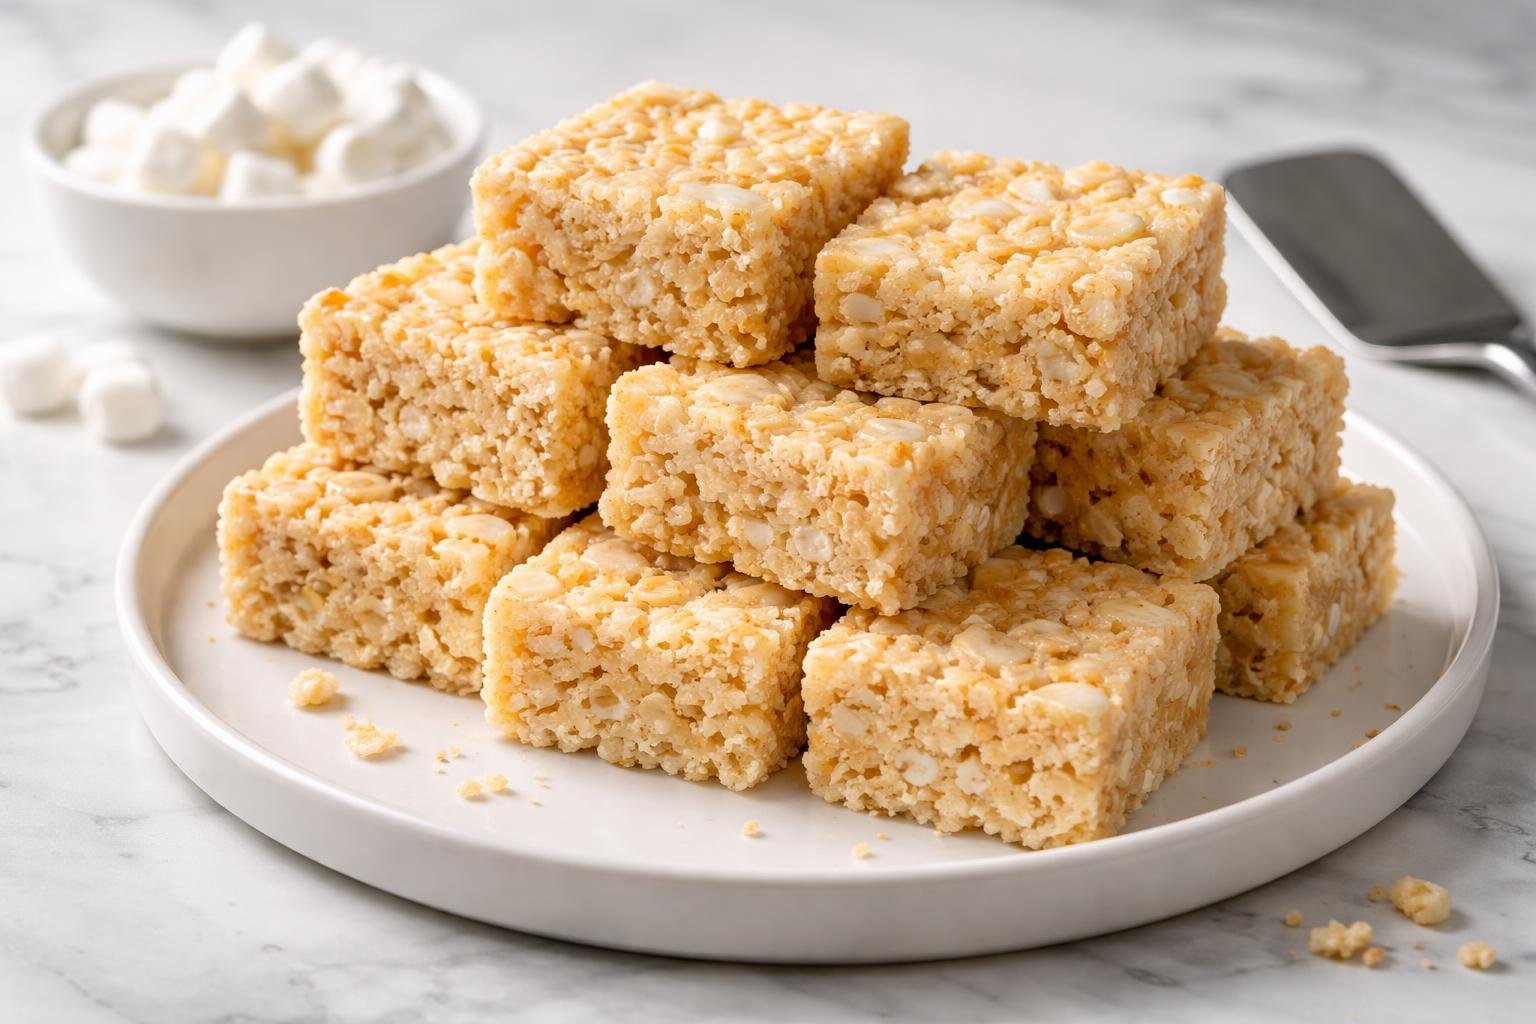
There are certain desserts that instantly take you back to childhood—and for me, Rice Krispie treats sit right at the top of that list. Sticky fingers, cereal crackling in the bowl, that unmistakable sweet smell drifting through the kitchen… it’s pure nostalgia. But this Brown Butter Rice Krispie Treats Recipe? This is the version I make now—the one that feels a little more grown-up, a little more indulgent, and a lot more flavorful.
I remember the exact moment I discovered the magic of browned butter. I was testing a simple batch late one evening, not expecting much, just craving something sweet. As the butter melted and began to foam, the aroma shifted—slowly turning warm, nutty, almost like toasted hazelnuts with a hint of caramel. I paused, spoon in hand, and thought, “Wait… this smells incredible.”
That one small change transformed everything. The finished treats had depth. They weren’t just sweet—they were rich, slightly toasty, and beautifully balanced. Since then, this Brown Butter Rice Krispie Treats Recipe has become my go-to when I want something quick but memorable. It’s the kind of dessert people take one bite of and immediately ask for the recipe.
And the best part? It’s still ridiculously easy.
What is Brown Butter Rice Krispie Treats Recipe?
At its core, this dessert is a twist on the classic American no-bake favorite: crispy rice cereal bound together with melted marshmallows. But in this Brown Butter Rice Krispie Treats Recipe, we elevate the base by browning the butter before adding the marshmallows.
Browning butter means cooking it just long enough for the milk solids to toast, turning golden and releasing a deep, nutty aroma. That flavor carries through the entire dessert, giving it a subtle caramelized note that pairs beautifully with the sweetness of marshmallows.
The result? A treat that’s still chewy and crispy, still quick and simple—but with a flavor profile that feels more layered and refined.
Think of it as your childhood favorite… but upgraded in the most delicious way.
Equipment List
Before we start, let’s gather everything. This recipe moves quickly once you begin, so having your tools ready makes all the difference.
- Large heavy-bottom pot (prevents burning during browning)
- Wooden spoon or silicone spatula
- 9×13-inch baking pan
- Parchment paper
- Measuring cups
- Offset spatula or clean hands (for pressing mixture)
A good heavy-bottom pot is especially important here—it gives you better control when browning butter and helps avoid hot spots.
Recipe Card Info
- Prep Time: 10 minutes
- Cook Time: 10 minutes
- Total Time: 20 minutes
- Servings: 12 squares
- Cuisine: American
- Course: Dessert
- Calories: 210 kcal per serving
Ingredients
Here’s everything you’ll need for this Brown Butter Rice Krispie Treats Recipe—simple pantry staples, but each one plays an important role.
Main Ingredients
- ½ cup (1 stick) unsalted butter
- 10 oz (about 280g) marshmallows
- 6 cups crispy rice cereal
- ½ teaspoon salt
- 1 teaspoon vanilla extract
Optional Additions (Highly Recommended)
- 1 cup mini marshmallows (for gooey pockets)
- ½ cup chocolate chips (milk or dark)
- Flaky sea salt for finishing
The beauty of this recipe is how flexible it is. Once you master the base, you can start playing with textures and flavors.
Instructions
Step 1: Prepare Your Pan
Line your baking pan with parchment paper and lightly grease it. This step might seem small, but it makes removing and slicing the treats so much easier later.
Step 2: Brown the Butter
Place the butter in a large pot over medium heat. Let it melt completely, then continue cooking.
First, it will foam. Then the foam will settle slightly, and you’ll start to see tiny brown specks forming at the bottom. Stir gently and keep a close eye on it.
The moment it smells nutty and turns golden brown—almost like caramel—you’re there. Remove from heat briefly if needed to avoid burning.
This is the heart of the Brown Butter Rice Krispie Treats Recipe. Don’t rush it.
Step 3: Melt the Marshmallows
Lower the heat and add the marshmallows directly into the browned butter. Stir continuously until they melt into a smooth, glossy mixture.
Add the vanilla extract and salt. These small additions make a big difference—they round out the sweetness and enhance the flavor.
Step 4: Fold in the Cereal
Remove the pot from heat and immediately add the crispy rice cereal.
Gently fold everything together until evenly coated. Try not to crush the cereal—you want to keep that light, airy crunch.
If using extra mini marshmallows, fold them in now for soft, gooey pockets throughout.
Step 5: Transfer and Press
Pour the mixture into your prepared pan. Using a spatula or lightly greased hands, gently press it into an even layer.
Important: don’t press too firmly. You want the treats to stay soft, not dense.
Step 6: Cool and Slice
Let the mixture cool at room temperature for about 30 minutes. Once set, lift it out using the parchment paper and cut into squares.
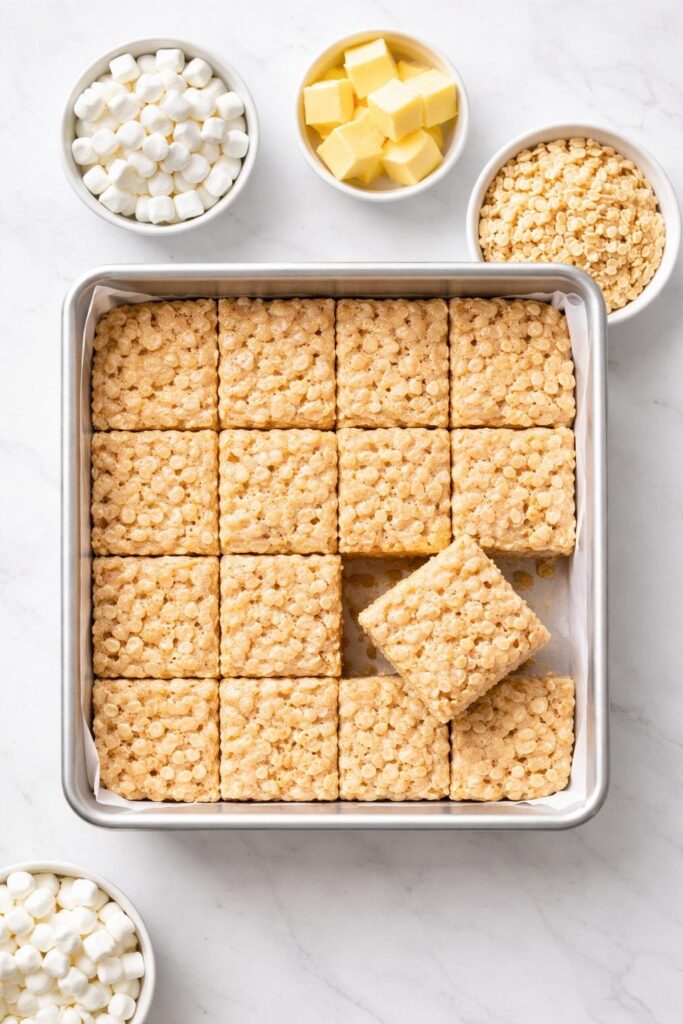
The Flavor Magic of Brown Butter
Let’s talk about what makes this Brown Butter Rice Krispie Treats Recipe so special.
When butter browns, its milk solids caramelize, creating compounds that taste nutty, slightly sweet, and deeply aromatic. It’s almost like adding a hint of toffee without any extra sugar.
That richness balances the sweetness of the marshmallows perfectly. Instead of being one-note sweet, these treats feel layered—sweet, salty, buttery, and just a little bit toasty.
It’s subtle, but once you taste it, you can’t go back.
Texture: The Secret to Perfect Treats
Texture is everything here. You want that perfect balance between chewy and crispy.
- Too much pressure when pressing = dense, hard bars
- Overheating marshmallows = tough texture
- Stale cereal = flat, lifeless crunch
When done right, each bite should feel soft, slightly stretchy, and lightly crisp.
Pro Tips From My Kitchen
Over the years, I’ve made this recipe more times than I can count—and these are the little things that truly make a difference:
- Always use fresh marshmallows for the best melt
- Keep heat low when melting to avoid stiffness
- Add a pinch of extra salt to balance sweetness
- Work quickly once cereal is added—the mixture sets fast
- Lightly grease your spatula to prevent sticking
Common Mistakes to Avoid
Burning the Butter
Brown butter can turn from perfect to burnt in seconds. Stay attentive and remove from heat as soon as it turns golden.
Overmixing
Too much stirring after adding cereal can crush it, affecting texture.
Packing Too Tightly
Pressing too hard makes the treats dense instead of light and chewy.
Delicious Variations to Try
Once you’ve mastered the base, try these fun twists:
Chocolate Swirl
Drizzle melted chocolate over the top or mix chips into the warm mixture.
Peanut Butter Version
Stir in ¼ cup peanut butter with the marshmallows for a rich, nutty flavor.
Cookies and Cream
Fold in crushed chocolate sandwich cookies for extra crunch.
Salted Caramel Style
Top with caramel drizzle and flaky sea salt for a bakery-style finish.
Storage Tips
Store your Brown Butter Rice Krispie Treats Recipe squares in an airtight container at room temperature for up to 3 days.
Avoid refrigeration—it can make them hard and dry.
If they do firm up slightly, a quick few seconds in the microwave can bring back some softness.
Serving Ideas
These treats are incredibly versatile. Serve them:
- As a quick dessert after dinner
- Packed into lunchboxes
- Cut into small squares for parties
- Drizzled with chocolate for special occasions
They’re simple—but they always feel like a treat.
FAQs
Can I use mini marshmallows instead of regular?
Yes! They melt faster and are easier to work with.
How do I know when butter is perfectly browned?
Look for a golden color with brown specks and a nutty aroma—like toasted nuts.
Can I freeze these treats?
It’s not ideal. Freezing can affect texture and make them less chewy.
Why are my treats too hard?
This usually happens if the marshmallows were overheated or the mixture was pressed too firmly.
Can I double the recipe?
Absolutely—just use a larger pan and work quickly when mixing.
Final Thoughts
This Brown Butter Rice Krispie Treats Recipe is one of those desserts that proves small changes can make a big impact. With just a few extra minutes and one simple technique, you transform a classic into something truly special.
It’s nostalgic, comforting, and just a little bit elevated—exactly the kind of recipe I love sharing from my kitchen to yours.
And once you make it this way, I have a feeling you won’t be going back to the original anytime soon.
More Delicious Desserts:
- Strawberry Crunch Cupcakes Recipe
- Strawberry Earthquake Cake Recipe
- Strawberry Buttermilk Pound Cake Recipe
Brown Butter Rice Krispie Treats Recipe
Equipment
- Large heavy-bottom pot (prevents burning during browning)
- Wooden spoon or silicone spatula
- 9×13-inch baking pan
- Parchment paper
- Measuring cups
- Offset spatula or clean hands (for pressing mixture)
Ingredients
Main Ingredients
- ½ cup 1 stick unsalted butter
- 10 oz about 280g marshmallows
- 6 cups crispy rice cereal
- ½ teaspoon salt
- 1 teaspoon vanilla extract
Optional Additions (Highly Recommended)
- 1 cup mini marshmallows for gooey pockets
- ½ cup chocolate chips milk or dark
- Flaky sea salt for finishing
Instructions
Step 1: Prepare Your Pan
- Line your baking pan with parchment paper and lightly grease it. This step might seem small, but it makes removing and slicing the treats so much easier later.
Step 2: Brown the Butter
- Place the butter in a large pot over medium heat. Let it melt completely, then continue cooking.
- First, it will foam. Then the foam will settle slightly, and you’ll start to see tiny brown specks forming at the bottom. Stir gently and keep a close eye on it.
- The moment it smells nutty and turns golden brown—almost like caramel—you’re there. Remove from heat briefly if needed to avoid burning.
- This is the heart of the Brown Butter Rice Krispie Treats Recipe. Don’t rush it.
Step 3: Melt the Marshmallows
- Lower the heat and add the marshmallows directly into the browned butter. Stir continuously until they melt into a smooth, glossy mixture.
- Add the vanilla extract and salt. These small additions make a big difference—they round out the sweetness and enhance the flavor.
Step 4: Fold in the Cereal
- Remove the pot from heat and immediately add the crispy rice cereal.
- Gently fold everything together until evenly coated. Try not to crush the cereal—you want to keep that light, airy crunch.
- If using extra mini marshmallows, fold them in now for soft, gooey pockets throughout.
Step 5: Transfer and Press
- Pour the mixture into your prepared pan. Using a spatula or lightly greased hands, gently press it into an even layer.
- Important: don’t press too firmly. You want the treats to stay soft, not dense.
Step 6: Cool and Slice
- Let the mixture cool at room temperature for about 30 minutes. Once set, lift it out using the parchment paper and cut into squares.
Notes
- Always use fresh marshmallows for the best melt
- Keep heat low when melting to avoid stiffness
- Add a pinch of extra salt to balance sweetness
- Work quickly once cereal is added—the mixture sets fast
- Lightly grease your spatula to prevent sticking

Norma Parker is a recipe creator at Nomqom.com. She shares simple, tasty, and easy home-cooking ideas for everyday meals. Her goal is to help home cooks make delicious food with confidence.