
Table of Contents
Intro
There are desserts you slice neatly and serve with perfect edges… and then there are desserts that crack, ripple, swirl, and unapologetically spill creamy goodness everywhere. This Strawberry Earthquake Cake Recipe belongs proudly in that second category.
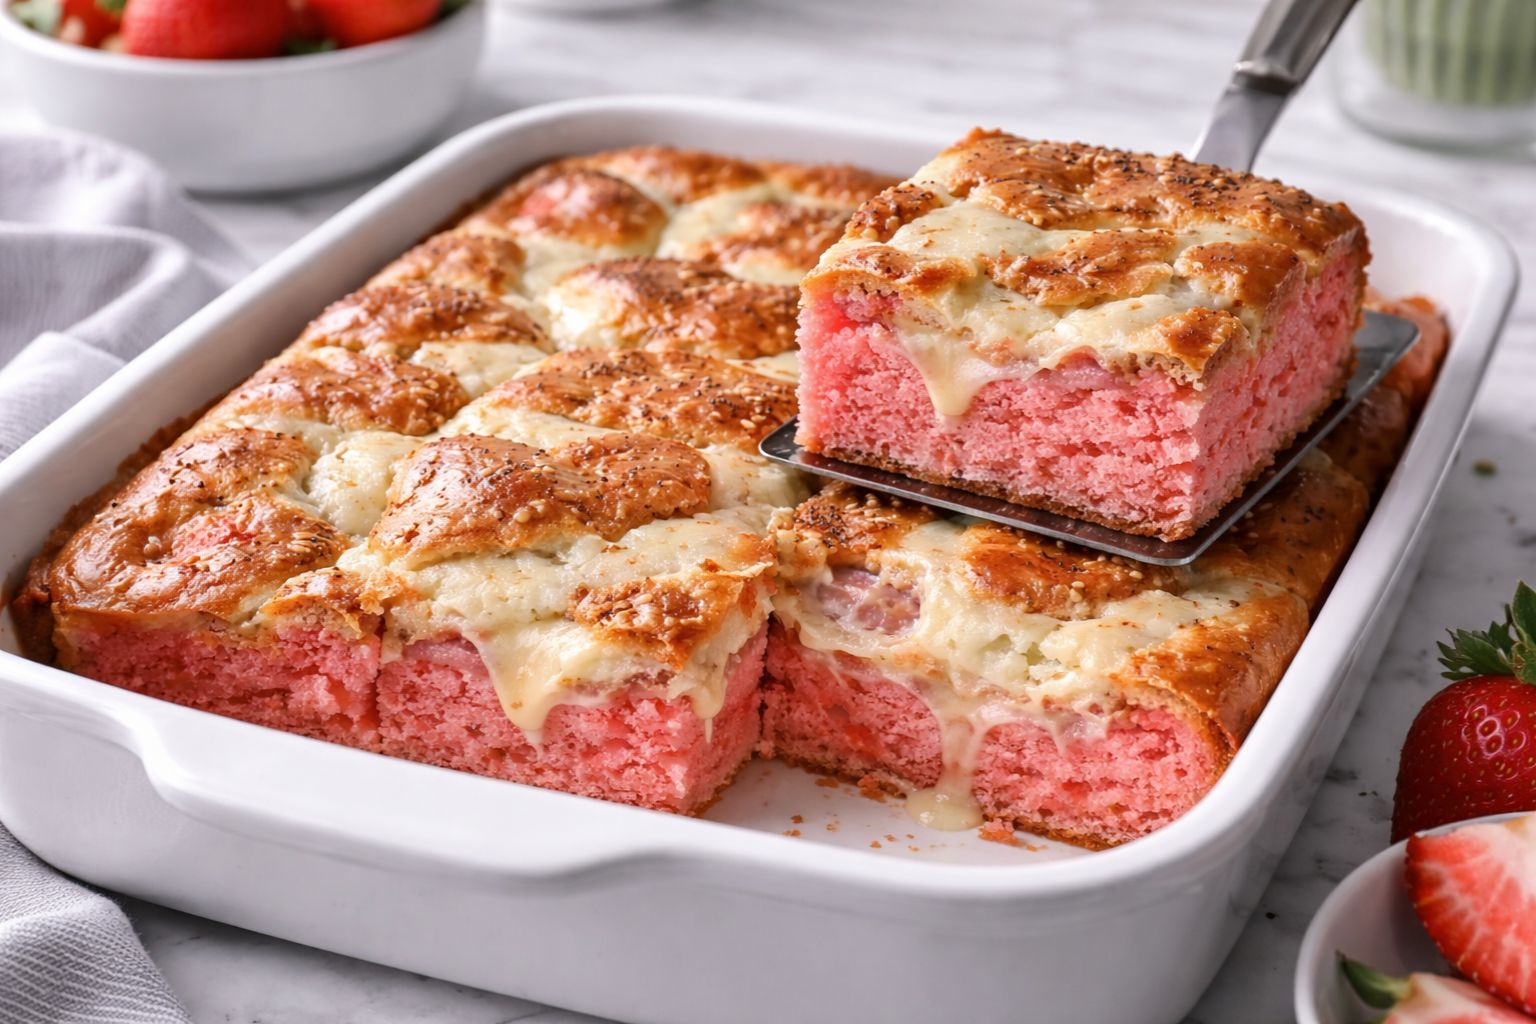
The first time I made it, I honestly wasn’t prepared for the drama. I pulled the pan from the oven and gasped. The top had split open in the most beautiful way. Cream cheese filling bubbled through the strawberry cake base, creating swirls and pockets that looked like something magical had happened inside the oven. It wasn’t neat. It wasn’t polished. It was glorious.
What I love most about this cake is that it feels playful. You pour, layer, swirl, and let the oven do the rest. No perfection required. As a chef, I spend a lot of time refining techniques and aiming for clean finishes—but this cake reminds me that sometimes the mess is the masterpiece.
Sweet strawberries, creamy cheesecake-like swirls, buttery texture, and that slightly crisp edge where the sugar caramelizes against the pan… it’s the kind of dessert people “just taste” and then quietly go back for seconds.
If you’ve never made it before, don’t worry. I’ll walk you through every step so your Strawberry Earthquake Cake Recipe turns out beautifully chaotic and absolutely delicious.
What is Strawberry Earthquake Cake Recipe?
The Strawberry Earthquake Cake Recipe is a layered dessert made with strawberry cake batter and a rich cream cheese mixture baked together in one pan. As it bakes, the layers shift and crack, creating a dramatic “earthquake” appearance on top.
Traditionally, earthquake cakes combine boxed cake mix with cream cheese, butter, and powdered sugar. This strawberry version takes that concept and adds a fruity twist. The strawberry cake base is soft and slightly tangy-sweet, while the cream cheese mixture becomes creamy, almost like pockets of cheesecake scattered throughout.
As it bakes, the cream cheese layer sinks slightly and pushes through the cake batter. The top cracks and forms natural swirls. No two cakes ever look the same. That’s part of the charm.
The result? A moist strawberry cake with ribbons of sweetened cream cheese in every bite.
Equipment List
You don’t need anything fancy for this recipe. I love desserts that feel effortless.
- 9×13-inch baking pan
- Large mixing bowl
- Medium mixing bowl
- Electric hand mixer or whisk
- Rubber spatula
- Measuring cups and spoons
- Knife for slicing
Simple tools. Big reward.
Recipe Card Info
Prep Time: 20 minutes
Cook Time: 40–45 minutes
Total Time: About 1 hour
Serves: 12–15 slices
Cuisine: American
Course: Dessert
Calories: Approximately 420–480 per slice (depending on toppings and portion size)
Ingredients
For the cake base:
- 1 box (about 430 grams) strawberry cake mix
- Ingredients required on the cake mix box (usually 3 eggs, ½ cup oil, and 1 cup water)
- 1 cup shredded sweetened coconut (optional but traditional in earthquake cakes)
- ½ cup white chocolate chips (optional but lovely)
For the cream cheese layer:
- 225 grams (8 ounces) cream cheese, softened
- ½ cup (115 grams) unsalted butter, melted
- 2 cups powdered sugar
- 1 teaspoon vanilla extract
Optional toppings:
- Fresh sliced strawberries
- Powdered sugar for dusting
- Strawberry sauce or glaze
Instructions (Step by Step)
Step 1: Preheat the oven
Preheat your oven to 175°C (350°F). Lightly grease your 9×13-inch baking pan.
Step 2: Prepare the cake batter
In a large mixing bowl, combine the strawberry cake mix with eggs, oil, and water according to package instructions. Mix until smooth.
If using shredded coconut and white chocolate chips, fold them gently into the batter. These add texture and richness.
Step 3: Pour into the pan
Pour the strawberry batter into the prepared baking pan and spread it evenly with a spatula.
Step 4: Make the cream cheese mixture
In a separate bowl, beat the softened cream cheese until smooth and creamy. Add melted butter, powdered sugar, and vanilla extract. Mix until fully combined and silky.
Step 5: Layer the cream cheese
Spoon dollops of the cream cheese mixture over the strawberry batter. Do not spread it evenly across the surface.
Step 6: Lightly swirl
Using a knife, gently swirl the cream cheese mixture into the cake batter. Do not overmix. You want visible swirls and pockets.
Step 7: Bake
Place the pan in the oven and bake for 40–45 minutes. The center should be set but still slightly soft. The top will crack and look beautifully uneven.
Step 8: Cool before slicing
Allow the cake to cool for at least 20–30 minutes before slicing. This helps the cream cheese layer firm up slightly.
What Makes It So Irresistible
Let’s talk about texture and flavor.
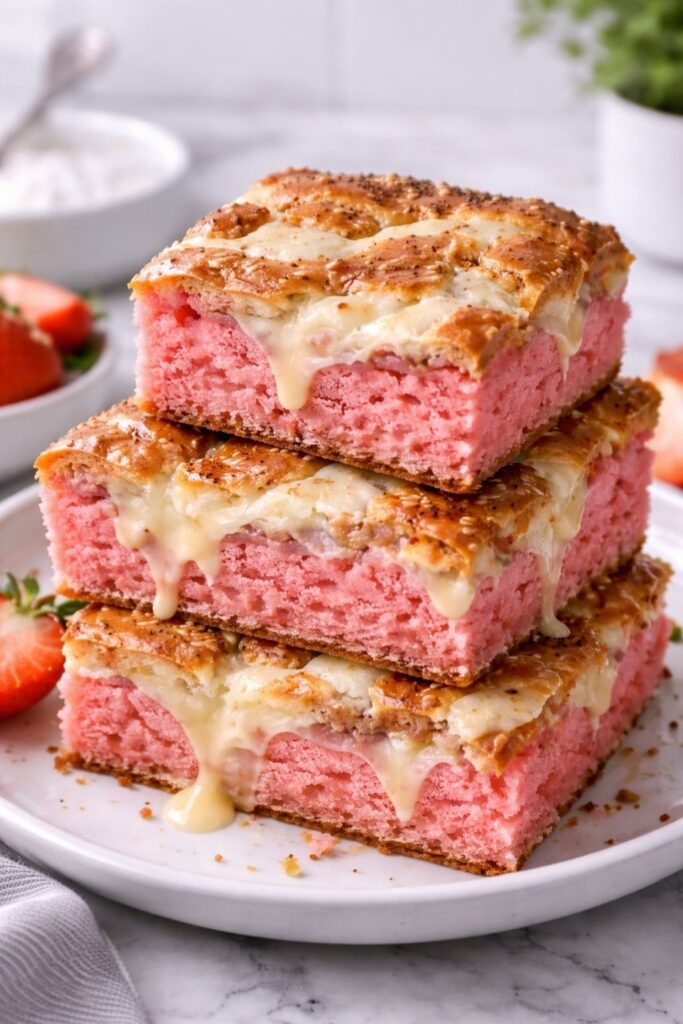
The strawberry cake layer is moist and tender. It has that sweet berry flavor that feels nostalgic and cheerful. The cream cheese mixture becomes rich and velvety as it bakes. It doesn’t fully blend into the cake. Instead, it creates creamy ribbons and soft cheesecake-like pockets.
The edges of the cake become slightly caramelized where the sugar meets the pan. Those bites are golden and a little chewy.
If you add coconut, you get a subtle tropical texture. If you add white chocolate chips, they melt into sweet little surprises.
Every bite is different. That’s the magic of this Strawberry Earthquake Cake Recipe.
My Personal Baking Tips
As someone who has tested this cake more times than I can count, here are a few lessons I’ve learned:
1. Soften the cream cheese properly.
Cold cream cheese creates lumps. Let it sit at room temperature first.
2. Don’t over-swirl.
Too much mixing blends the layers together. You want contrast.
3. Slightly underbake is better than overbake.
The cake continues to set as it cools.
4. Let it cool before cutting.
I know it smells amazing, but patience gives cleaner slices.
Variations You Can Try
One reason I adore this Strawberry Earthquake Cake Recipe is how adaptable it is.
Chocolate Strawberry Version
Add chocolate chips to the cake base and drizzle melted chocolate on top after baking.
Cheesecake Lovers Version
Increase the cream cheese layer slightly for more creamy pockets.
Fresh Strawberry Boost
Fold chopped fresh strawberries into the batter for added texture and brightness.
Lemon Twist
Add 1 teaspoon lemon zest to the cream cheese mixture for a subtle citrus note.
Serving Suggestions
This cake is delicious warm, at room temperature, or chilled.
Serve it with:
- A scoop of vanilla ice cream
- Fresh whipped cream
- Extra sliced strawberries
- A drizzle of strawberry syrup
For gatherings, I like to cut it into squares and arrange them on a white platter with fresh berries scattered around. It looks vibrant and inviting.
Make-Ahead and Storage
You can bake this cake a day ahead. Store covered at room temperature for up to 24 hours or refrigerate for up to 4 days.
If refrigerated, let it sit at room temperature before serving for the best texture.
It also freezes well. Wrap individual slices tightly and freeze for up to 2 months.
Common Mistakes to Avoid
- Overbaking until completely dry
- Spreading the cream cheese layer flat instead of dolloping
- Cutting while too hot
- Skipping the greasing step
Small adjustments make a big difference.
Why I Love This Cake So Much
As a female chef, I appreciate recipes that feel joyful. This one doesn’t demand perfection. It celebrates unpredictability.
When people see the cracked top and creamy swirls, they get curious. When they taste it, they smile. And that moment—that quiet “wow”—is why I bake.
This Strawberry Earthquake Cake Recipe has become one of my favorite potluck desserts because it travels well, feeds a crowd, and always sparks conversation.
It’s bold. It’s sweet. It’s creamy. It’s a little dramatic.
Just like the best desserts should be.
Final Thoughts
If you’re looking for a dessert that feels special without being complicated, this is it.
The Strawberry Earthquake Cake Recipe brings together simple ingredients—cake mix, cream cheese, butter, sugar—and transforms them into something memorable.
Bake it once and you’ll understand. It’s not just a cake. It’s an experience.
And honestly? Sometimes the messiest desserts are the most beautiful ones.

Strawberry Earthquake Cake Recipe
Equipment
- 9×13-inch baking pan
- Large mixing bowl
- Medium mixing bowl
- Electric hand mixer or whisk
- Rubber spatula
- Measuring Cups and Spoons
- Knife for slicing
Ingredients
For the cake base:
- 1 box about 430 grams strawberry cake mix
- Ingredients required on the cake mix box usually 3 eggs, ½ cup oil, and 1 cup water
- 1 cup shredded sweetened coconut optional but traditional in earthquake cakes
- ½ cup white chocolate chips optional but lovely
For the cream cheese layer:
- 225 grams 8 ounces cream cheese, softened
- ½ cup 115 grams unsalted butter, melted
- 2 cups powdered sugar
- 1 teaspoon vanilla extract
Optional toppings:
- Fresh sliced strawberries
- Powdered sugar for dusting
- Strawberry sauce or glaze
Instructions
Step 1: Preheat the oven
- Preheat your oven to 175°C (350°F). Lightly grease your 9×13-inch baking pan.
Step 2: Prepare the cake batter
- In a large mixing bowl, combine the strawberry cake mix with eggs, oil, and water according to package instructions. Mix until smooth.
- If using shredded coconut and white chocolate chips, fold them gently into the batter. These add texture and richness.
Step 3: Pour into the pan
- Pour the strawberry batter into the prepared baking pan and spread it evenly with a spatula.
Step 4: Make the cream cheese mixture
- In a separate bowl, beat the softened cream cheese until smooth and creamy. Add melted butter, powdered sugar, and vanilla extract. Mix until fully combined and silky.
Step 5: Layer the cream cheese
- Spoon dollops of the cream cheese mixture over the strawberry batter. Do not spread it evenly across the surface.
Step 6: Lightly swirl
- Using a knife, gently swirl the cream cheese mixture into the cake batter. Do not overmix. You want visible swirls and pockets.
Step 7: Bake
- Place the pan in the oven and bake for 40–45 minutes. The center should be set but still slightly soft. The top will crack and look beautifully uneven.
Step 8: Cool before slicing
- Allow the cake to cool for at least 20–30 minutes before slicing. This helps the cream cheese layer firm up slightly.

Norma Parker is a recipe creator at Nomqom.com. She shares simple, tasty, and easy home-cooking ideas for everyday meals. Her goal is to help home cooks make delicious food with confidence.