
Table of Contents
Intro
There’s something deeply comforting about baking for someone you love—and in my kitchen, that “someone” often has four paws and the happiest wagging tail you’ve ever seen. The first time I made Banana and Peanut Butter Chew Sticks for Dogs, it was honestly just an experiment.
I had a couple of overripe bananas sitting on the counter, that rich nutty jar of peanut butter calling my name, and a curious pup watching my every move like I was about to perform magic.
And you know what? It was magic.
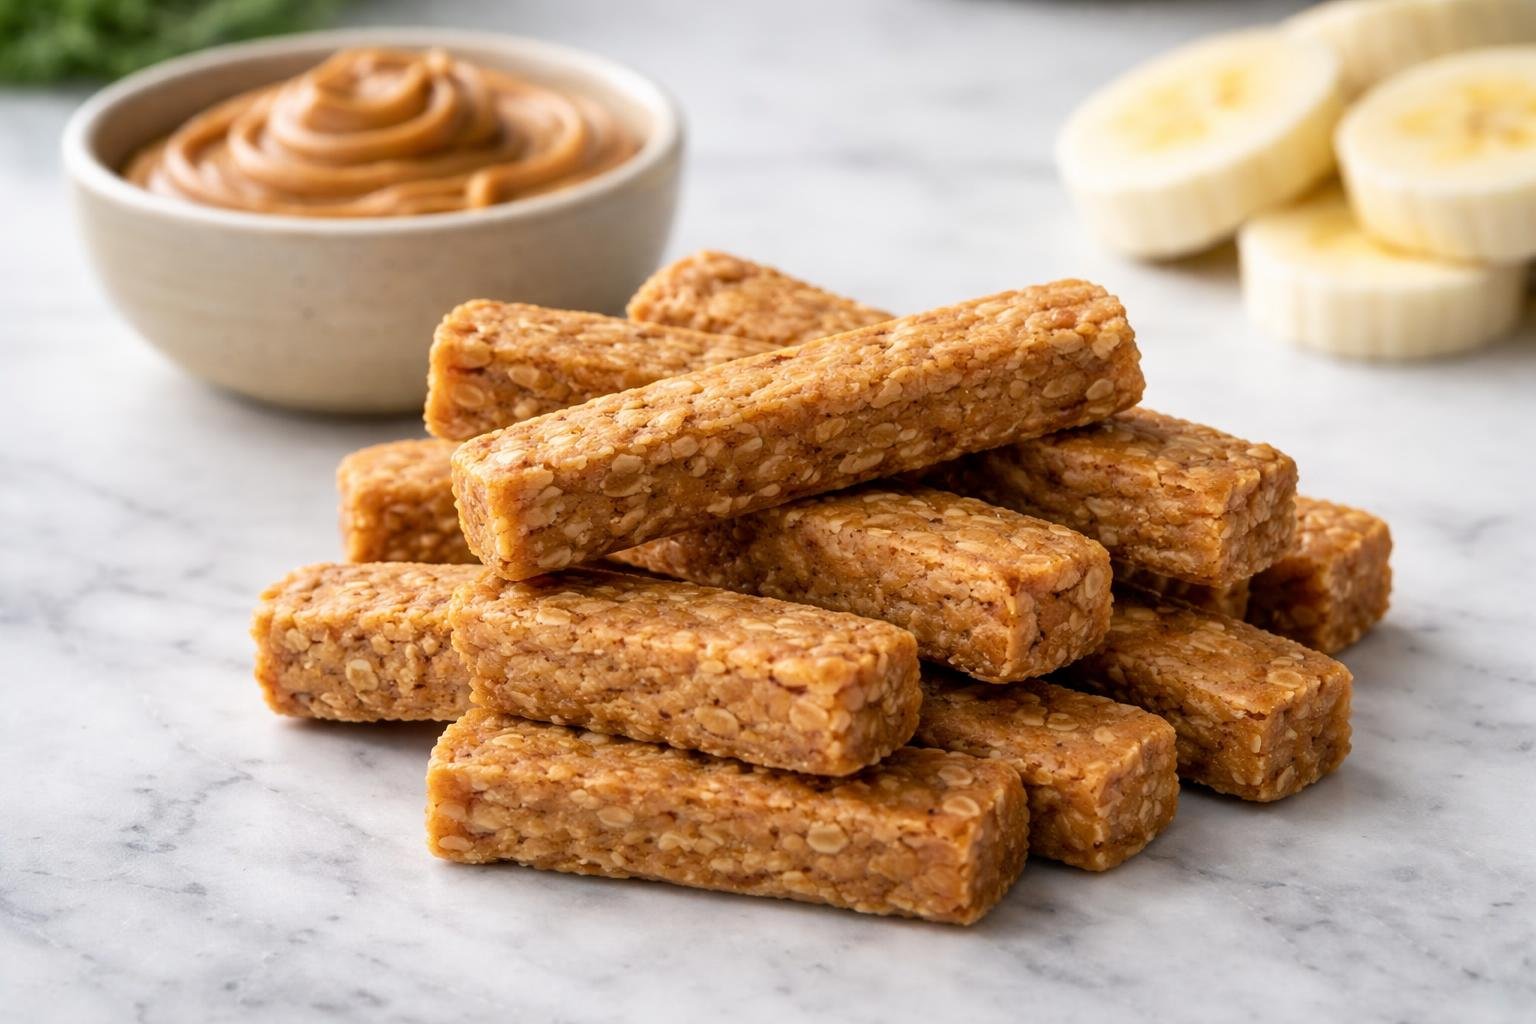
These chew sticks came out golden, slightly chewy with a gentle crunch on the outside, and packed with naturally sweet, nutty goodness. No artificial ingredients. No mystery fillers. Just simple, wholesome ingredients you probably already have in your kitchen.
As a chef—and a dog mom—I love knowing exactly what goes into my dog’s treats. These sticks are not only delicious (judging by the enthusiastic tail wags), but they’re also nourishing, easy to make, and budget-friendly.
So if you’re looking for a homemade treat that feels like love baked into every bite, you’re in the right place.
What is Banana and Peanut Butter Chew Sticks for Dogs?
Banana and Peanut Butter Chew Sticks for Dogs are homemade dog treats made with natural, dog-safe ingredients like ripe bananas, peanut butter, and flour. They are shaped into stick-like forms and baked until firm enough to chew but still slightly tender inside.
Think of them as the perfect middle ground between a crunchy biscuit and a soft chew.
What makes them special is their flavor and texture:
- Bananas bring natural sweetness and softness
- Peanut butter adds richness and protein
- Flour gives structure and chewiness
These treats are:
- Free from preservatives
- Easy on sensitive stomachs
- Great for training or rewarding
- Loved by picky eaters (yes, even those dogs)
And honestly, the smell while they bake? Warm, nutty, slightly sweet—it fills your kitchen like a cozy hug.
Equipment List
Before we start, let’s gather everything you’ll need. Nothing fancy here—just simple kitchen tools.
- Mixing bowl
- Fork or potato masher (for bananas)
- Measuring cups and spoons
- Rolling pin (optional but helpful)
- Baking tray
- Parchment paper
- Knife or pizza cutter
- Oven
That’s it. No special equipment, no stress.
Recipe Card Info
Prep Time: 10 minutes
Cook Time: 25 minutes
Total Time: 35 minutes
Serves: 20–25 chew sticks
Cuisine: Pet Treats / Homemade Dog Food
Course: Dog Snacks
Calories: ~35 calories per stick
Ingredients
Here’s where the magic begins—simple, wholesome, and easy to find.
- 2 ripe bananas (mashed)
- 1/2 cup natural peanut butter (unsweetened, xylitol-free)
- 1 1/2 cups whole wheat flour
- 1/4 cup rolled oats
- 1/4 cup water (add as needed)
Ingredient Notes (from my kitchen experience)
- Bananas: The riper, the better. Those spotty ones you almost threw away? Perfect.
- Peanut Butter: Always check the label—no xylitol, ever.
- Flour: Whole wheat gives a hearty texture, but you can swap with oat flour for sensitive dogs.
- Oats: Add a subtle chew and fiber boost.
Instructions (Step by Step)
Step 1: Preheat and Prep
Preheat your oven to 180°C (350°F). Line a baking tray with parchment paper.
Step 2: Mash the Bananas
In a bowl, mash the bananas until smooth. A few small lumps are fine—it adds texture.
Step 3: Add Peanut Butter
Stir in the peanut butter. At this stage, the mixture becomes creamy, thick, and smells absolutely irresistible.
Step 4: Mix in Dry Ingredients
Add flour and oats gradually. Mix until it forms a dough.
Step 5: Adjust Consistency
If the dough feels too dry, add water one tablespoon at a time until it comes together.
Step 6: Roll and Shape
Roll the dough out to about ½ inch thickness. Cut into stick shapes using a knife or cutter.
Step 7: Bake
Place on the tray and bake for 25 minutes until golden brown.
Step 8: Cool Completely
Let them cool fully—they firm up as they sit.
Why Dogs Love These Chew Sticks
I’ve made a lot of treats in my kitchen, but these? They disappear in seconds.
Here’s why dogs go crazy for them:
- The natural sweetness of bananas
- The rich, nutty flavor of peanut butter
- The satisfying chew texture
It’s like giving them a snack that feels indulgent but is actually good for them.
Health Benefits of Key Ingredients
Bananas
- Rich in potassium
- Gentle on digestion
- Natural energy boost
Peanut Butter
- Protein-packed
- Contains healthy fats
- Supports muscle health
Oats
- Great for digestion
- Adds fiber
- Helps keep dogs full longer
When combined, these ingredients create a balanced, wholesome treat you can feel good about.
Tips for Perfect Chew Sticks
From my kitchen to yours, here are a few little secrets:
- Don’t overbake if you want a softer chew
- Bake longer for a crunchier stick
- Use parchment paper to avoid sticking
- Store in airtight containers to maintain freshness
Variations You Can Try
I love experimenting, and you can too.
1. Pumpkin Twist
Add 2 tablespoons pumpkin puree for extra fiber.
2. Apple Cinnamon Version
Add finely grated apple and a pinch of cinnamon.
3. Grain-Free Option
Use oat flour or coconut flour instead of wheat.
Each variation keeps the essence of Banana and Peanut Butter Chew Sticks for Dogs while adding a fun twist.
Storage and Shelf Life
- Room temperature: 3–4 days
- Refrigerator: Up to 1 week
- Freezer: Up to 2 months
Pro tip: I always freeze a batch. It’s a lifesaver on busy days.
Serving Suggestions
- Break into smaller pieces for training
- Use as a reward after walks
- Pair with fresh water always
Moderation is key—even healthy treats should be given in balance.
Common Mistakes to Avoid
- Using peanut butter with xylitol
- Adding sugar or salt
- Skipping cooling time
- Making sticks too thick (they won’t bake evenly)
My Personal Kitchen Story
As a female chef, I spend a lot of time perfecting recipes for people—but there’s something incredibly special about creating food for pets.
The first time I gave my dog these Banana and Peanut Butter Chew Sticks for Dogs, she sat patiently… then gently took one… then came back for three more.
That was my moment.
That quiet, joyful approval? Better than any restaurant review.
FAQs
Can I use regular flour instead of whole wheat?
Yes, all-purpose flour works fine.
Are these safe for puppies?
Yes, in small amounts and soft texture.
Can I make them crunchy?
Absolutely—just bake 5–10 minutes longer.
What if my dough is sticky?
Add a bit more flour until manageable.
How many can I give per day?
1–2 sticks depending on your dog’s size.
Final Thoughts
Making Banana and Peanut Butter Chew Sticks for Dogs is more than just a recipe—it’s an act of love. It’s knowing that what you’re feeding your furry companion is safe, wholesome, and made with care.
And honestly? Watching them enjoy something you made with your own hands is one of the purest joys in the kitchen.
So next time you see those ripe bananas sitting on your counter, don’t toss them.
Bake something special.

Banana and Peanut Butter Chew Sticks for Dogs
Equipment
- Mixing Bowl
- Fork or potato masher (for bananas)
- Measuring Cups and Spoons
- Rolling pin (optional but helpful)
- Baking tray
- Parchment paper
- Knife or pizza cutter
- Oven
Ingredients
- 2 ripe bananas mashed
- 1/2 cup natural peanut butter unsweetened, xylitol-free
- 1 1/2 cups whole wheat flour
- 1/4 cup rolled oats
- 1/4 cup water add as needed
Instructions
Step 1: Preheat and Prep
- Preheat your oven to 180°C (350°F). Line a baking tray with parchment paper.
Step 2: Mash the Bananas
- In a bowl, mash the bananas until smooth. A few small lumps are fine—it adds texture.
Step 3: Add Peanut Butter
- Stir in the peanut butter. At this stage, the mixture becomes creamy, thick, and smells absolutely irresistible.
Step 4: Mix in Dry Ingredients
- Add flour and oats gradually. Mix until it forms a dough.
Step 5: Adjust Consistency
- If the dough feels too dry, add water one tablespoon at a time until it comes together.
Step 6: Roll and Shape
- Roll the dough out to about ½ inch thickness. Cut into stick shapes using a knife or cutter.
Step 7: Bake
- Place on the tray and bake for 25 minutes until golden brown.
Step 8: Cool Completely
- Let them cool fully—they firm up as they sit.
Notes
- Don’t overbake if you want a softer chew
- Bake longer for a crunchier stick
- Use parchment paper to avoid sticking
- Store in airtight containers to maintain freshness

Norma Parker is a recipe creator at Nomqom.com. She shares simple, tasty, and easy home-cooking ideas for everyday meals. Her goal is to help home cooks make delicious food with confidence.